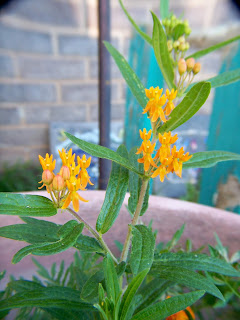
If you are interested in my live butterfly Flowers, Contact me on Facebook Messenger for more information. Currently, I sell only in Kansas but I may be opening up to more Midwest S
 tates this year. It's still in the Planning stage.

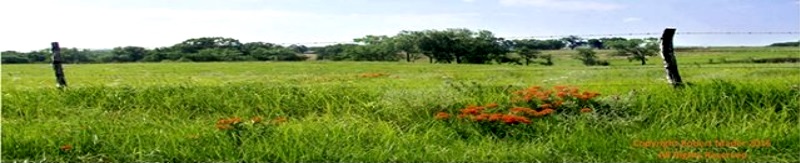
From South Central Kansas - MidWest USA. Home of the Kansas Monarch Butterfly Flower! Copyright Robert Mader 2007 Thru 2019. All Rights Reserved.