
After I bought my little Sand Hill bush, I started to make cuttings.
 |
| My Brand New Sand Hill Cherry Bush |
 |
| Cut just below a fat leaf bud and place in a pint jar of water to keep from drying out while you cut more stems. You will retrim and clean later. |
 |
Here I am using a sharp Box Knife and cutting just below a
a leaf bud at the bottom of the cutting. Try to cut at a sharp angle60 degrees to expose a wide slice of stem. This allows water to get into the stem easier. You might want to dip the knife blade into Alcohol (rubbing alcohol is fine) to steralize the blade as you go. Next you will want to clean off extra leaves. This is to reduce stress on the stem . It will not have to feed these leaves. |
 |
| Using your thumb and fingernail, just nip off the leaves close to the stem but just before the leaf bud. This is the area where new roots will form. Nip all but a couple of leaves at the top. |
 |
| Here are shown to equally good Rooting Hormones. |
 |
| Dampen the stem near the cutting end |
 |
| Dip the damp end (with a bud) into the powder and shake the excess powder off. You are then ready to place it into the Sprouting Chamber that I will show you how to make next. |
How to Build Your Own Sprouting Chamber
If you can, find one of the Smaller coffee cans and one Large coffee can. Metal is good.
 |
| Smaller Coffee Can |
 |
| Drill a few holes in the bottom about 3/8's inch. |
 |
| Coat it inside and out with a good outdoor paint like Rustoliam. |
 |
| I like to use separate colors for each can but it doesn't matter what colors you us. This keeps the cans from rusting. |
 |
| Small Can Finished |
 |
| Likewise, spray the inside and Outside of the Large Can. Place a canning lid ring in in the Center. or any lid for that matter. Actually, any lid will do. You just need a pedestal to keep the Small Can off the bottom of the Large Can - to allow excess water to be held in the large can. This will hold the small can off the bottom of the large can so it can easily drain. |
 |
| Add Course Sand to the small Can. A piece of window screen should be added to the bottom to the bottom of the cann to avoid loosing sand out the bottom. |
 |
| Course Building Sand is best. It drains well and allows Air to get to the new roots that we hope will form. This can often be found in Tube Sand to add weight to the back of your car or truck if you live in a cold area in winter. I find mine at Ace Hardware. I Don;t recommend Childrens Sand. It slows down drainage and seals of air to the new roots when they hopefully form. |
 |
| Place the small can with the sand into the large can centered over the lid you have at the bottom of the large can. pour enough water dampen the sand well. Drain the large can if you have over a small amount accumulate in the large can. The leavel of water should never reach the smaller can with sand in it. The new plant cuttings should always be damp but never sit in water to prevent rotting. |
 |
| An Ordinary #2 pencil will come in handy next. |
 |
| Poke a hole in the sand about 2 inches or so deep. |
 |
| Keep the cuttings damp for this next procedure. |
 |
| Stick the cut end into Rooting Hormone. Shake off the excess. |
 |
| Set the Cutting end into the hole you just poked in the damp sand. Press the sand down gently around the new cutting, and proceed to the next Cutting. |
 |
| Except for the last step, this is how your set-up should look when finished. Note the Alcohol you should use when making each cutting to prevent any plant infections when making the cuttings. 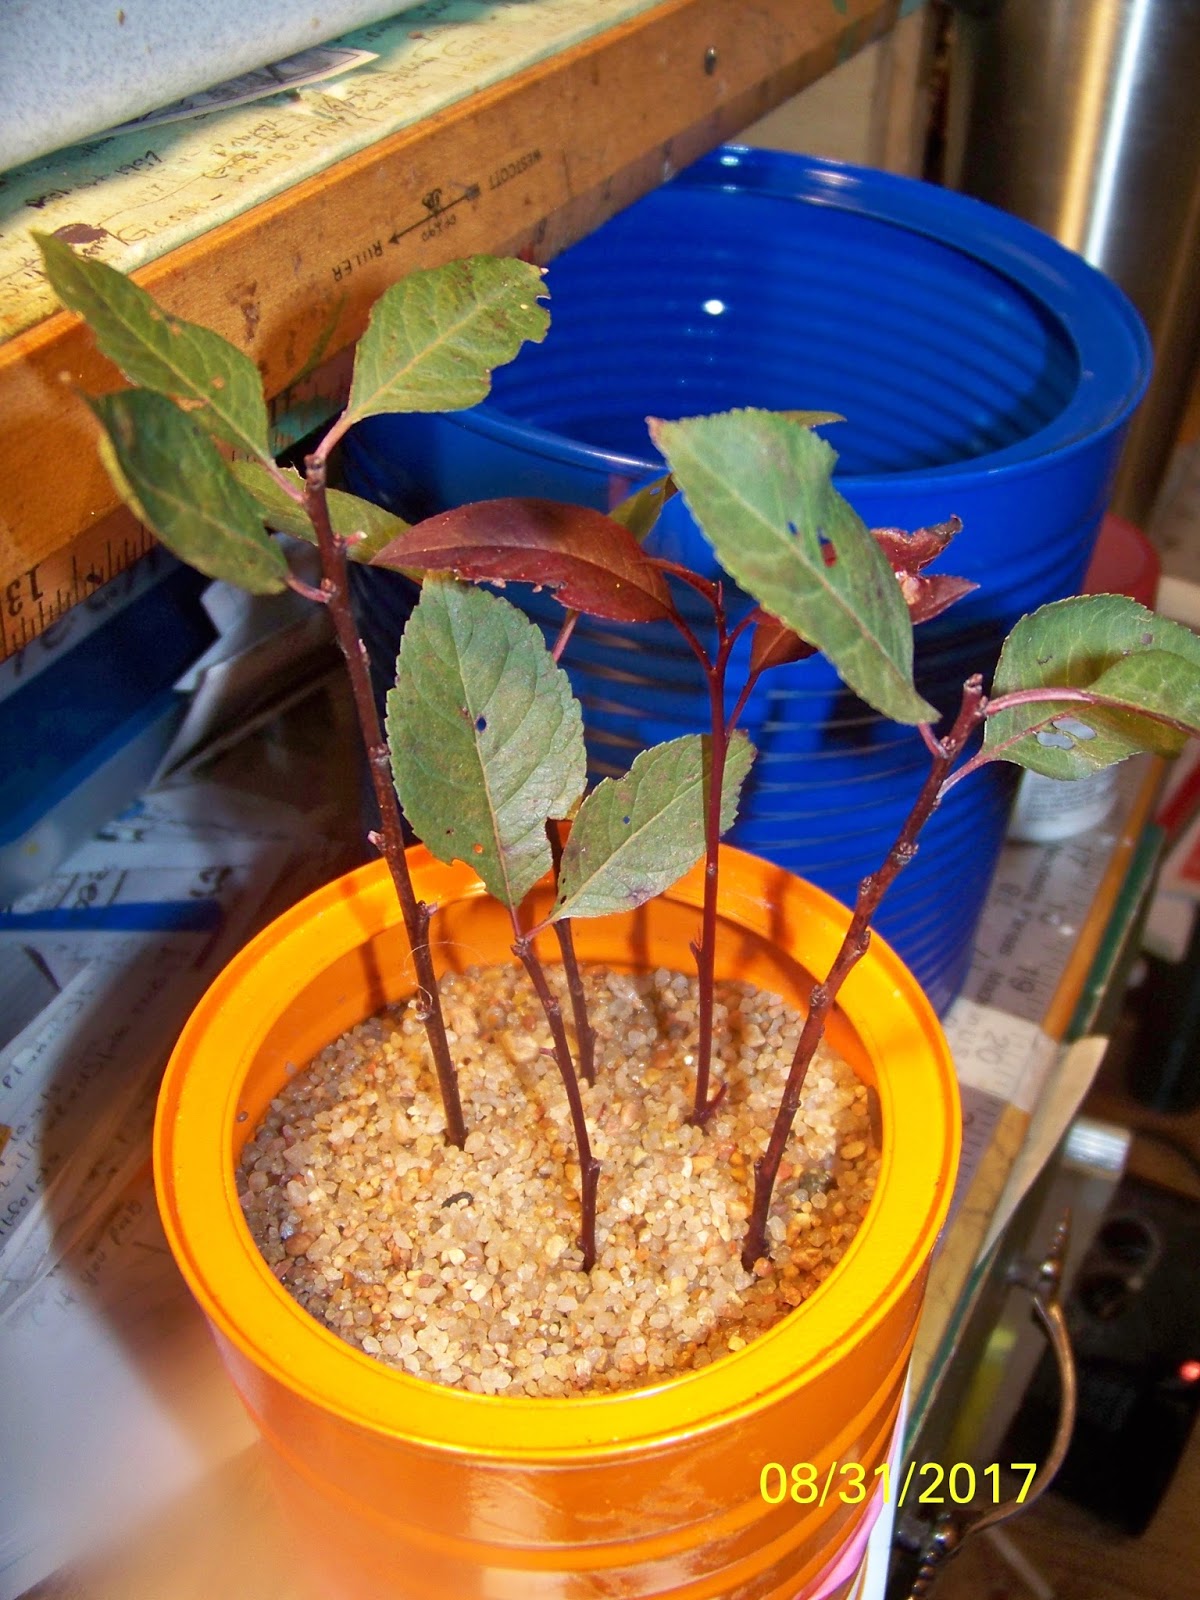 Your Sprouting can with the cuttings should look like this. I place mine about 1/2 to an inch apart in the can. About 1/2 the stems actually rooted with my first try. I was happy. |
 |
| For the last step, slip a Freezer Bag over the Cuttings in the small can to prevent evaporation. You should remove it whenever excess condensation if formed. The Bag should be prevented from touching the leaves while the process is going on. Hold the Bag on the Can with a rubber Band. The Cat is Optional. |
 |
| In about 2 weeks you should start to see roots forming. Allow another week and place the rooted stems in pots to allow continue growing. Water regularly. Keep damp and in a semi-shaded area . The stems should soon start putting on new leaves. The cutting leaves will probably drop off. Put the new plants in a small pot to grow. I start mine in large 32 ounce plastic cups to get a good start. Be sure the pot drains well. Introduce them to full sun gradually. Later you will want to place them in a larger pot or plant them out into your own garden or orchard. Try this on other plants! Spring is a good time to take cuttings. The stems should springy but not two new. They should have plenty of leaf buds. |
No comments:
Post a Comment